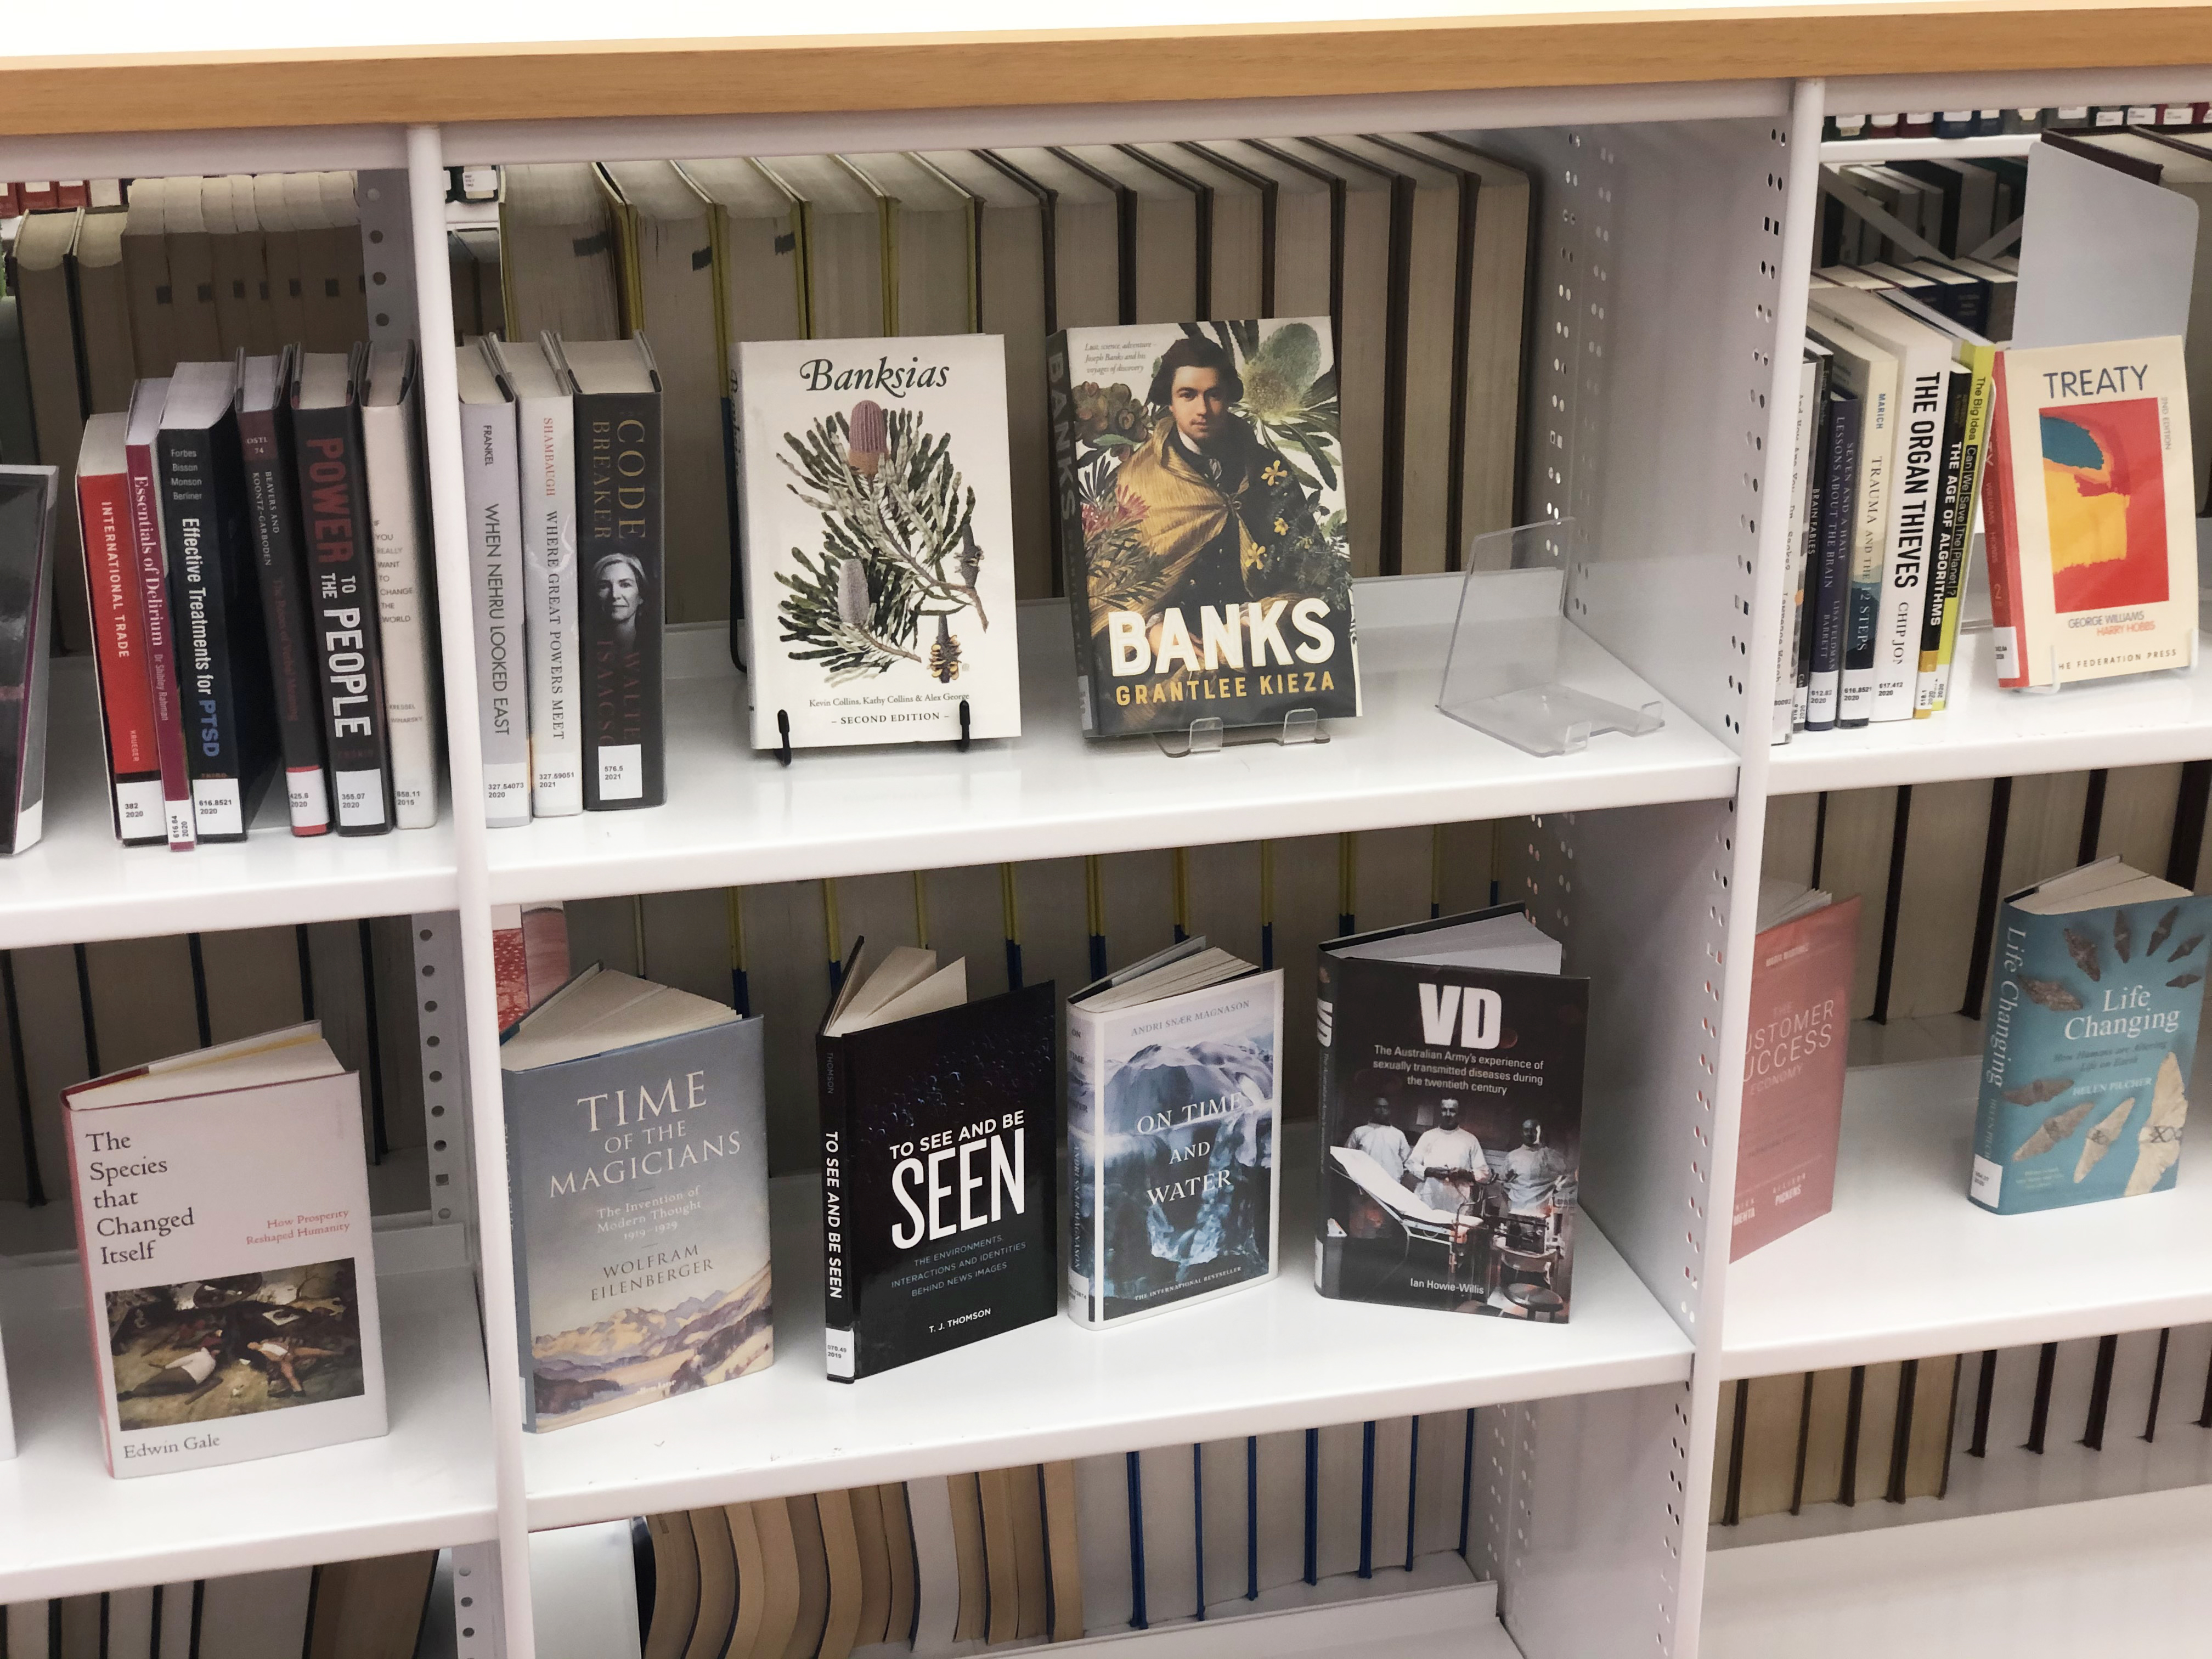
I started the process of turning one of my first monographs into an audiobook six days after the publisher informed me the book had been published in hardback and ebook formats. In retrospect, I realize now that was too late, for I had signed away almost a year earlier, “the exclusive right to publish and sell, including the right to permit others to publish and sell, the work, in whole or in part, in any and all editions whether print, electronic, or audio … .”
Nevertheless, I initiated in November 2019 a conversation with my publisher’s rights department and asked whether it would be possible to also offer the work in audiobook form. One of its staffers responded and suggested I try to approach various audiobook publishers with a proposal in the hopes that they could buy the audiobook rights from the publisher. I worked over the next 11 months to contact potential audiobook publishers but these efforts bore no fruit.
So, I followed up with the head of rights at my publisher again in October, 2020, and put this question to him:
Would you be able to advise if the publisher could support my listing of the book on ACX [which distributes the book to Audible.com, Amazon.com, and iTunes] if I handle the book’s production as an audiobook and we can reach a profit-sharing agreement for any sales?
We reached such an agreement in November 2020 and production of the audiobook followed thereafter. I share here the nitty-gritty particulars, from selecting equipment to promoting your published audiobook, that might help fellow academics who are navigating the process of transforming their work from words to sounds.
Equipment and location
No matter how brilliant your prose, you’ll need to have appropriate gear and a suitable environment or your audience will stray elsewhere.
Investigate if your institution is already equipped with radio/podcast/audio studios and equipment that staff can access. If so, enquire about scheduling particulars and equipment loan duration.
If you need to source your own gear, do invest in a high-quality external microphone you can use for this project and for other ones, too, such as pre-recorded lectures, news media interviews, and the like.
Here’s a quick checklist of equipment I brought with me to every recording session:
- An external USB microphone (I went with the Blue Yeti) 🎙
- A pop filter (I nabbed a Blue Yeti-compatible one from Amazon) 🎶
- A pair of headphones to allow you to monitor your microphone’s levels (the over-ear style is preferred but you can use in-ear ones in a pinch. In either case, you don’t want to use noise-cancelling headphones) 🎧
- A laptop (or tablet) you can use to read your text from. Close any unnecessary programs and browsers so that all your computer’s processing power can be dedicated to the recording and to reduce the chance of your computer’s fan turning on sooner. This will depend on your device’s make and model (as well as the ambient temperature in your recording location) but my fan would usually turn on after about 45 minutes to an hour of recording so expect to take somewhat frequent breaks (good for both your computer and you) 💻
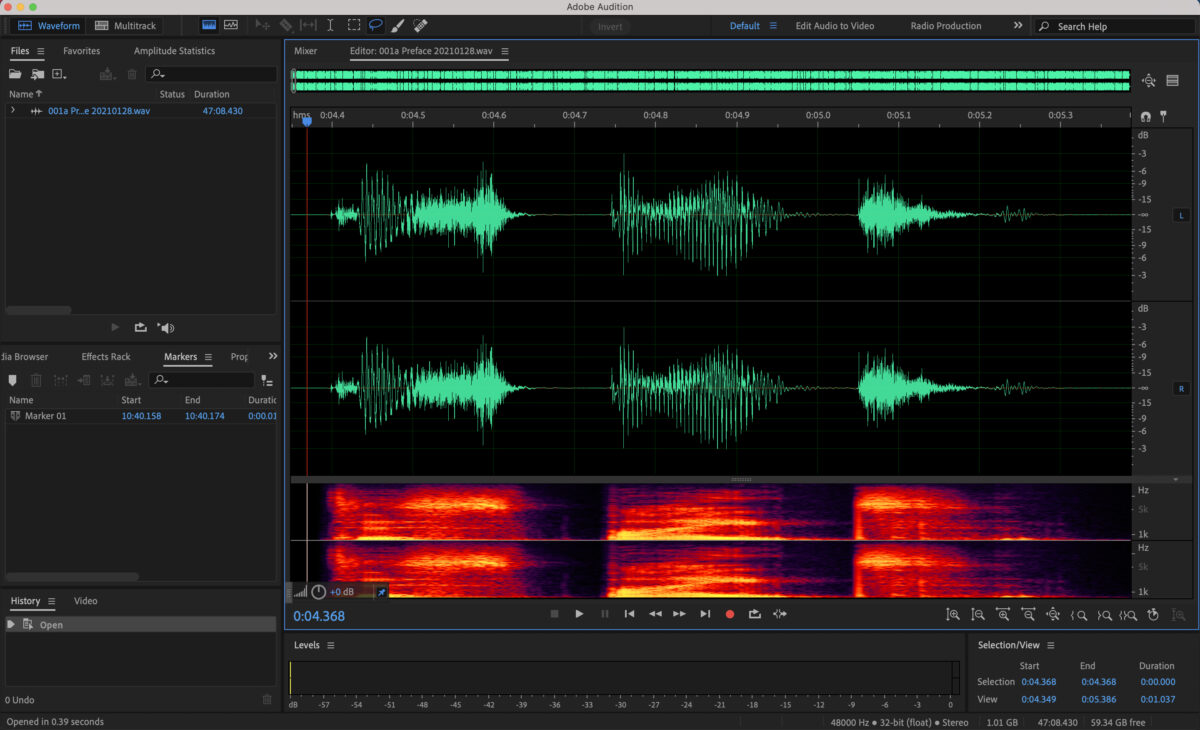
- Audio recording and editing software (I use Adobe Audition, which my university provides for free. You can also use freeware like Audacity) 💿
- A stack of books to adjust both the height of your laptop and the height of your microphone to a comfortable position 📚
- A water bottle🚰
- A green apple (allegedly helps to minimize excess saliva and reduces unwanted mouth noises) 🍏
Concerning the location, if you have access to a soundproofed room on campus, great! If not, find a quiet location that has padded surfaces. Depending on the weather and temperature, somewhere like the interior of a car or a walk-in closet can work well. If recording indoors, try to turn the A/C and fans off and dress accordingly (for both temperature and by removing jewelry and selecting apparel that doesn’t make noises when it moves).
One of the most important things in sound recordings is consistency and this applies to everything from equipment and settings to the environment. Ensure you’re recording everything in the same location, with the same angle, positioning, settings, etc.
Preparing your text
If you’re like me, you might have used in your book some foreign-language terms or proper nouns that you’ve written but possibly never pronounced. (Mine included ones like Niépce [njɛps], one of the seminal figures in photography’s invention, and Ojai [OH-hy], a city in Ventura County, California.) Highlight these, look each one up, and ensure you have the correct pronunciation before starting to record.
You also likely write differently for the eye than you do for the ear. You don’t need to completely revise your text but pay special attention to attribution. In writing, we often tuck this in the middle or at the end of quoted material. When recording for the ear, this attribution usually needs to appear first to introduce the quote. Also consider how you’ll handle footnotes/endnotes and parenthetical phrases. Sometimes it makes sense to include them in the text and other times, they become clunky and are best removed or need to be re-positioned to work effectively in an audiobook context.
Keep in mind that, if you go with ACX and want to take advantage of its “WhisperSync” or “Immersion Reading” features (the latter of which highlights words on the eBook version as the narrator reads them) then the Kindle/eBook version of your text and the narration will have to achieve a minimum 95-percent match in order to be eligible. You can read more about these features here.
Review your publisher’s submission requirements and make note of any other information you’ll need to record. As an example, ACX requires you to speak opening and closing credits that contain certain elements, such as the phrase “The End” at the recording’s conclusion. You likely haven’t written this in your book so go ahead and add it now as a comment or a sticky note so you don’t forget.
Lastly, also review figures, tabular material, and other material that might not be written or might be hard to translate into audio form and decide how you will approach these.
Recording
Refer to your publisher’s technical specifications regarding file type and attributes. As of 2021, ACX requires, for example, that chapters are submitted as individual files that are:
- no longer than 120 minutes
- have room tone (the environment’s ambient sound without speech) at the beginning and end
- are free of extraneous sounds
- measure between -23dB and -18dB RMS and have -3dB peak values and a maximum -60dB noise floor
- be a 192kbps or higher MP3, Constant Bit Rate (CBR) at 44.1kHz
Make sure you’re using the right mode, such as cardioid rather than bidirectional (if offered on your mic), and that you note things like mic position/distance/angle so you’re consistent with these each time you record.
Have a passage prepared at the beginning with a variety of dynamic ranges: is any of your dialogue or text to be whispered? Is any of it to be spoken emphatically with a raised voice? Record this section first to test levels and ensure they’re appropriate for this range.
Speaking of dynamic range, to achieve it, it’s not always appropriate to simply vary your volume. You might also need to vary your position to account for the changes in volume. For example, if you’re whispering a line, move closer to the microphone. If you’re shouting a line, move further away so the recording can still benefit from the dynamic range without wild modulations in volume.
Don’t try to record more than one chapter per day. And, ideally, don’t try to record chapters on back-to-back days. If you do, your voice will take a hit and you’ll be able to hear the strain when listening back to your recordings.
Pay great attention to pacing. You’ll likely have to speak much slower than you normally do or think is appropriate. You’re intimately familiar with your text and its arguments but, for someone who is hearing it for the first time and isn’t used to your accent or vocal qualities, it can take time to process what is being said.
Ensure you follow best practices and store your files in triplicate. I saved them as I went through the process locally on my laptop’s hard drive, on an external hard drive that I would sync every few days, and in the cloud.
Editing
Don’t be tempted to do all the recording first and only then turn to editing. Keep the recording and editing tasks together as the latter will inform the former. You’ll get a sense of your pace (and whether it’s appropriate), certain mouth noises or sounds you make, or whether you slur or blur certain words or phrases together and this can make for cleaner future recording sessions, saving you more editing time if not a complete do-over.
Edit to ensure you have consistent spacing. For example, between section headings in your chapters, have an equivalent amount of space each time to indicate a new section. I used a nearly full view of my 13-inch laptop screen to roughly estimate this, which turned out to be about 3 seconds of silence. Similarly, have a consistent amount of spacing after quotes or dialogue so your listeners can confidently know when that quoted material ends and when you as the author have resumed speaking.
Also take the time to edit out breathing sounds (to be clear, don’t delete this time as the pause is necessary but just remove the waveforms themselves) and any clicks, pops, or other distracting mouth noises that are present. You can do this in Adobe Audition by highlighting the offending sound on the timeline and pressing Cmd+U (or Ctrl+U on a Windows device) to “heal” that section and remove the offending material.
After you’ve done this initial micro editing, make time to listen to the entire chapter for more macro editing, such as the appropriateness of pacing/pauses, and to notate any sections that might need re-recording because of incorrect intonation, pronunciation, or sounds that can’t be fixed through Audition’s healing effects and tools.
Use a separate track (that you can later copy and paste into your other timeline) to record any edits or do-overs. Don’t try to record the edits in the same file as your other audio. Also, don’t try to just re-record one word (or sound). Re-record the entire sentence or sentence part.
Publishing and promoting
I chose to publish through ACX because it holds the audiobook market’s biggest share as of 2021 and it was a platform my publisher agreed could be used; however, it is important to note this option is only available, as at March 2021, for scholars with an address and bank account in the United States, United Kingdom, Canada or Ireland. Thus, your choice of publisher might be influenced not only by market share or the publisher’s terms but also by the country you’re living in.
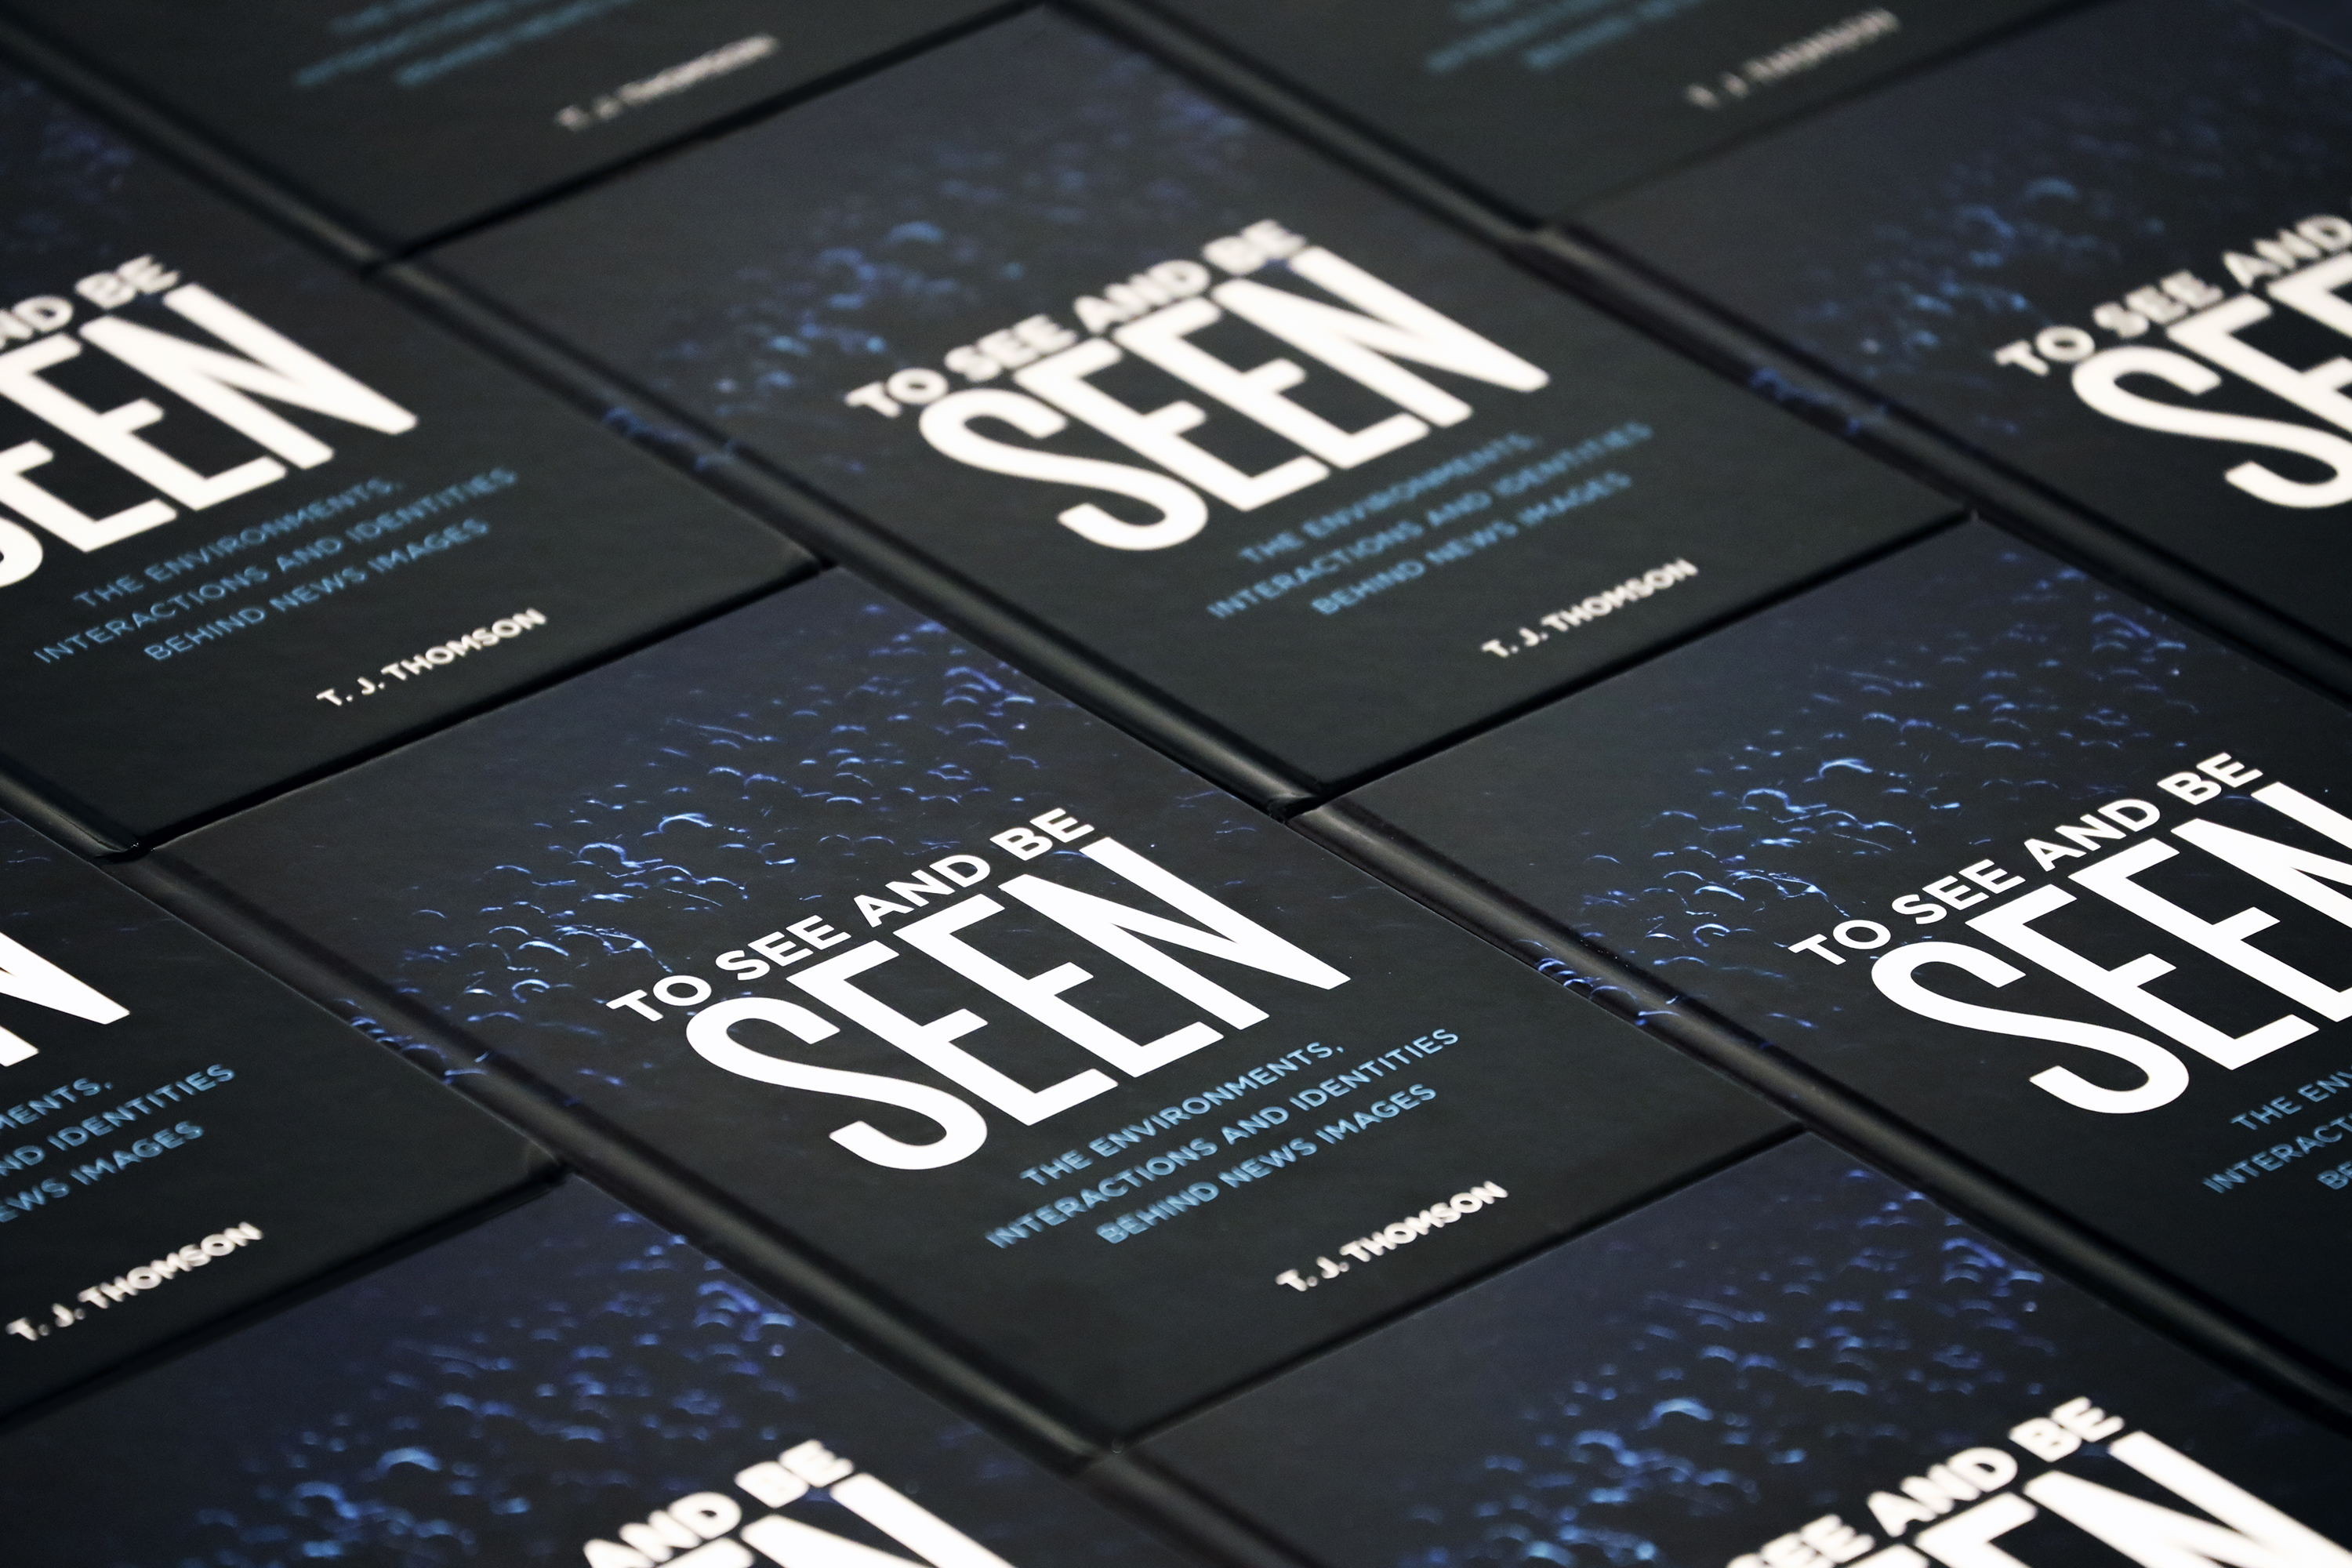
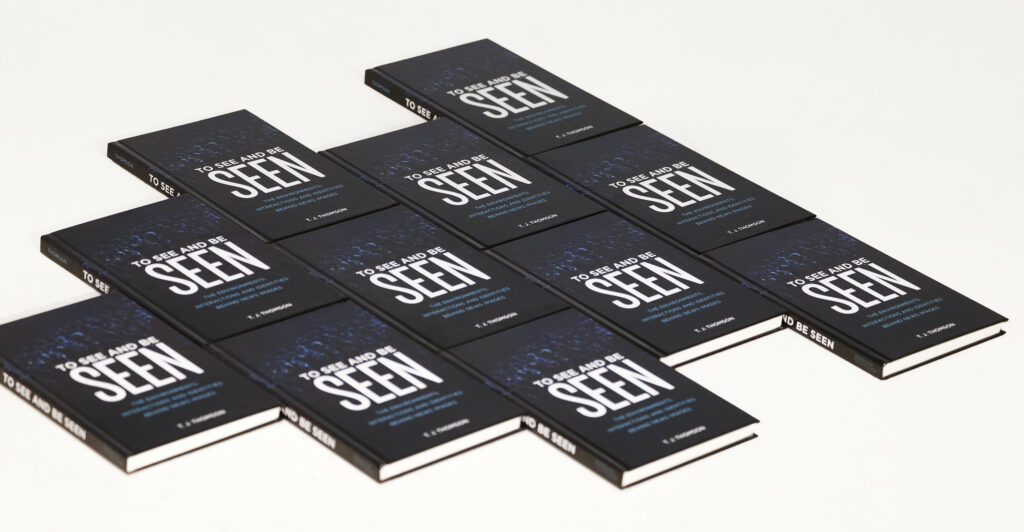
Once you’ve decided on a publisher and as part of the production and promotion process, you’ll have to design some cover art that, ideally, complements your monograph’s cover even though the two are almost certainly in different orientations and have different aspect ratios. This can be a tricky part of the process for non-designers.
My book’s cover was designed by Katherine Ha based on a rendering I sent her through my publisher’s editorial assistant. Through the assistant, Kathy then presented me with three options and I workshopped one with her to further refine.
But when it comes to the audiobook cover art, the aspect ratio is square (1:1) rather than vertical (an aspect ratio of roughly 3:5). Since I picked out the cover’s background image, I still had the URL and could download my own copy but I still needed to figure out which fonts were used. I relied on the “What The Font” online service to help me with this investigation and was able to subsequently re-design the cover from scratch, using the same fonts and colors, as are used in my book’s original cover design.
After this piece of art had been designed, I was able to pick out the up-to-five-minute retail sample that prospective buyers can listen to to get a sense of my voice and the book’s content. I went for a segment from the book’s introductory chapter that included some of my key arguments for the book’s relevance.
Then, it was just a matter of uploading the files to the ACX site and waiting up to 30 business days for a determination on whether my files passed the organization’s quality assurance (QA) process, which, for me, took 18 business days. Thankfully, mine passed QA on the first try and I was notified on 6 March, 2021, that the book was now live on Amazon and Audible and would be available on iTunes within a couple days.
Here are a few things I did to help publicize the audiobook and expand its reach:
- Made use of ACX promo codes. You get 50, initially, and they provide free access to your audiobook. ACX suggests giving them to: professional audiobook reviewers, your “street team” or beta readers, your fans on social media via a giveaway or contest, or peers so you can “trade reviews for each other’s books.”
- Uploaded the first chapter to Soundcloud. ACX limits your retail sample to five minutes but the entire first chapter of my book is freely available online so I wanted to have the first chapter of the audiobook equally as available.
- Updated my email signature. I had already been linking to the non-audiobook versions of my book; however, once the audiobook came out, I wanted to link to this, too, but didn’t want my signature to be too long or to become too link-heavy so I used LinkTree to create a single URL that directs users to all the formats, platforms, and languages my book is available in.
Overall, while the recording and editing were grueling, at times, it’s definitely a rewarding and enriching experience and one that’s entirely doable for the savvy academic-turned-narrator. Speaking my work made me more thoughtful about how I write and will doubtless influence the process for my next book.
I hope this post provides some practical guidance to others hoping to turn their scholarly monographs into audiobooks. If I can be of assistance throughout the process or if you’d like a free review copy, feel free to drop me a line.


